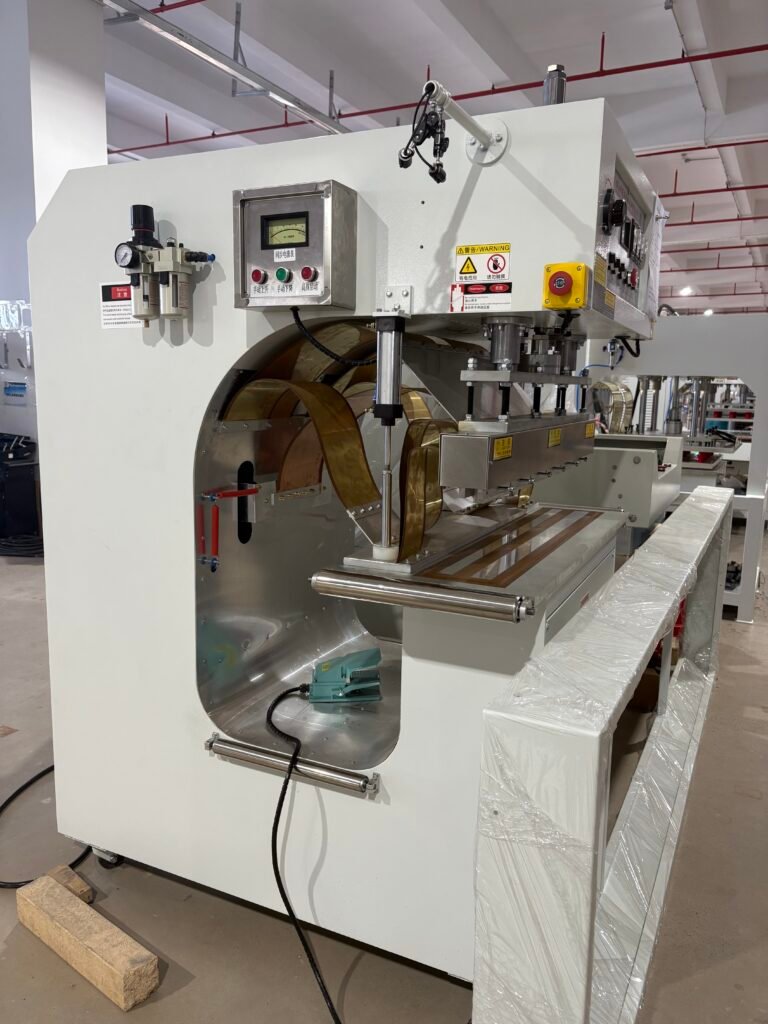
Vacuum Tube HF Welder Fault Diagnosis: Check Frequency, Contacts, and Oscillator to Fix HF Welding Machine No Output
You load the material, close the press, and trigger the cycle. The timer counts down. The press opens. The material sits there completely unbonded, cold to the touch. The machine consumed power, the contactor clacked, but no high frequency energy reached the die. You now face a complete HF welding machine no output condition. The machine is effectively a cold press.
This failure stops production instantly. It also presents a diagnostic puzzle because the symptom is total silence: no arc, no heat, no glow. Yet this very simplicity narrows the suspect list to a defined set of causes. A systematic HF welding machine diagnosis follows the energy flow backward from the electrode to the wall supply and finds the break.
This guide provides a step-by-step procedure for troubleshooting a high frequency welder not working with no output. We focus especially on vacuum tube machines, where most RF welder power loss faults reside in the oscillator, high-voltage supply, or protection circuits.
Before You Start: Safety Rules for Live HF Diagnosis
High frequency welding equipment operates at voltages that can kill instantly. A tube-type machine maintains several thousand volts DC on the anode supply, and the RF output itself causes deep RF burns without visible arcing. Never attempt internal diagnosis alone. Always follow a written lockout procedure before touching any internal component. Discharge all high-voltage capacitors with a grounded discharge stick after powering down and before reaching into the enclosure. Work with one hand where possible, keep the other hand away from the chassis, and wear insulated gloves rated for the machine’s maximum voltage. If you lack experience with high-voltage circuits, call a qualified service engineer. The diagnostic steps below emphasize visual checks and simple measurements that do not require working on energized high-voltage circuits.
Step 1: Verify the Obvious External Causes
Before opening a single panel, rule out the simple things that mimic a serious HF welding machine no output fault. Many service calls end with a tightened screw or a flipped switch.
Check the incoming power supply. Measure all three phases at the machine disconnect. A dropped phase leaves control circuits running but the high-voltage transformer cannot function. Verify that the machine’s main breaker or isolator is fully closed. Test the emergency stop button circuit. A partially engaged E-stop or a faulty contact in the safety chain interrupts the start sequence without necessarily tripping an alarm. Cycle each E-stop button on and off deliberately.
Inspect the foot pedal or palm button start switches. A welded contact or broken wire prevents the trigger signal from reaching the control circuit. Test continuity through the switch with a multimeter while an assistant operates it. Check the air pressure supply. Most HF welding machines require a minimum air pressure to close the press. If the pressure switch is not satisfied, the control circuit never initiates the RF cycle. Verify that the air gauge reads above the pressure switch threshold and that the switch contacts close.
Step 2: Listen to the Machine During a Cycle Attempt
With the main power on and air supplied, initiate a weld cycle and listen carefully to what happens and, more importantly, what does not happen. The sequence of sounds tells you exactly where the process stops.
If you hear no contactor clunk at all when you trigger the cycle, the fault is in the control circuit. Check the PLC or relay logic for a missing permissive signal. Look for an illuminated fault indicator on the HMI or control panel. Many machines refuse to start if the water cooling flow switch is not satisfied, if a door interlock is open, or if a previous arc fault has latched the protection circuit.
If you hear the main contactor pull in with a solid thump but no other sounds follow, the control circuit is working. The problem is in the high-voltage supply or the oscillator. If you hear a faint 60Hz or 50Hz hum from the high-voltage transformer but still no RF output, the transformer is receiving power but the oscillator is not oscillating. If you hear a buzzing or crackling from the oscillator compartment, you likely have a damaged component arcing internally, and the machine is protecting itself by suppressing output.
Step 3: Check the High-Voltage DC Supply
The oscillator tube requires high-voltage DC to operate. If this supply is absent, the tube cannot conduct and no RF generation occurs. Most vacuum tube HF welder fault conditions trace back to problems in this section.
Power the machine down completely. Follow lockout procedures. Discharge all high-voltage capacitors with a grounding stick. Visually inspect the high-voltage transformer for signs of overheating, insulation cracking, or burnt odor. Measure the primary and secondary winding resistance with a megohmmeter and compare to the manufacturer’s specifications. An open winding indicates a failed transformer.
Inspect the high-voltage rectifier stack. In older machines, these are stacks of silicon diodes or selenium rectifiers. A single failed diode opens the rectifier circuit and drops the DC output to zero. Test each diode individually with a multimeter diode-check function. Replace any that read open in the forward direction or shorted in the reverse direction.
Examine the high-voltage filter capacitors. Look for bulging cases, leaking electrolyte (in electrolytic types), or cracked ceramic insulators. A shorted filter capacitor blows the main fuse instantly when the contactor closes. An open capacitor allows excessive ripple to reach the oscillator, which can prevent oscillation. Test capacitance and ESR with a proper capacitor tester.
Step 4: Inspect the Vacuum Tube and Filament Circuit
The oscillator tube is the heart of a tube-type HF welder. A dead tube means zero output. But a tube with a healthy filament that still fails to oscillate points to bias or feedback problems.
Visually inspect the tube envelope. A vacuum tube that has lost its vacuum shows a milky white getter deposit instead of the normal shiny silver mirror. A cracked or broken glass envelope is obvious on close inspection. Check the tube sockets and connections. Oxidized contact fingers cause intermittent filament current and erratic operation. Remove the tube carefully and clean the socket contacts with electrical contact cleaner.
Measure the filament voltage at the tube socket. The filament must receive the correct voltage, typically 5V to 15V depending on tube type. Low filament voltage reduces electron emission. The tube conducts but cannot sustain full oscillation. A failed filament transformer or loose connection drops this voltage. Measure with a true-RMS meter because the filament supply is often AC.
Check the tube’s grid bias supply. Many oscillator circuits apply a negative DC bias to the control grid. If this bias voltage is missing or too negative, the tube is cut off and cannot oscillate. A failed bias rectifier or open grid leak resistor interrupts this supply. Measure the bias voltage at the grid terminal with the machine powered and compare to the manual’s specified value.
Step 5: Check the Oscillator Feedback and Tank Circuit
An oscillator must have feedback to sustain oscillation. Tube-type HF welders typically use a Colpitts or Hartley oscillator configuration with a tapped tank coil or capacitive voltage divider for feedback. If the feedback path opens, the circuit becomes an amplifier instead of an oscillator and produces no output.
Inspect the tank coil for signs of overheating, arcing, or broken connections. The tank coil is a large air-wound or form-wound inductor in the oscillator compartment. A loose connection at the tap point kills oscillation entirely. Tighten all bolted connections to the specified torque.
Check the feedback capacitors. These are high-voltage mica or ceramic capacitors that sample a portion of the tank circuit voltage and feed it back to the tube grid. A cracked or open feedback capacitor breaks the feedback loop. Visually inspect for cracks or burn marks. Test capacitance with a meter rated for high-voltage RF capacitors. Check the grid coupling capacitor that connects the feedback network to the tube grid. An open coupling capacitor isolates the feedback signal from the tube.
Step 6: Investigate the Overload Protection Board
Most modern and many older HF welding machines include an overload protection board that monitors plate current or reflected power. This board protects the tube and power supply from damage during arcing or mismatch conditions. Unfortunately, a faulty protection board can simulate an overload condition and hold the machine in a permanent shutdown state.
Locate the protection board, often a small PCB mounted near the control section or inside the oscillator compartment. Look for illuminated overload LEDs that stay on even with no material in the press. Check the current sensing circuit. A failed current transformer or shunt resistor can send a false high-current signal to the board. Measure the sensing component outputs and compare to expected values.
Examine the protection board for bulging electrolytic capacitors, burnt resistors, or cracked solder joints. The high-vibration environment of an HF welder stresses solder connections. Reflowing suspicious joints often restores normal operation. If the board uses mechanical relays, test them for welded contacts that fail to open or for coil failures that prevent them from closing.
Temporarily defeat the overload protection only if you fully understand the risk and can monitor plate current continuously with a calibrated meter. Use this solely as a diagnostic step to confirm that the protection circuit is the cause, not as a permanent fix. Restore protection before returning the machine to production.
Step 7: Verify RF Frequency and Output Metering
If all previous checks pass, the problem may be that the machine actually generates RF but the output metering lies, or the frequency has drifted so far that the energy cannot couple into the load.
Use a frequency counter with a suitable antenna or pickup loop near the oscillator compartment. The machine should produce output at its rated frequency, typically 27.12MHz or 13.56MHz. A frequency reading far outside this range indicates a tank circuit component failure that shifted the resonant frequency. Replace the drifted component and re-tune.
Check the output metering circuit. Many machines measure RF output through a directional coupler or current transformer. A failed coupler diode or open meter movement shows zero output even when the machine produces full power. Test the meter with a known signal source. Measure the coupler output with an oscilloscope if available. A simple field-strength test is to hold a fluorescent tube or neon bulb near the output busbar. If it glows, RF is present regardless of what the meter shows.
Step 8: Examine Wiring, Contactors, and Interlocks
Intermittent connections mimic every other failure mode. A high frequency welder not working intermittently often has a loose wire that makes contact when the machine is cold and opens when it warms up.
With the machine locked out, systematically tighten every screw terminal in the power and control circuits. Pay special attention to connections on the main contactor, the high-voltage transformer primary, and the filament transformer. Check crimped lugs for signs of corrosion or loosening. A high-resistance connection in the filament circuit drops voltage under load and produces exactly this symptom.
Test the main contactor. Burnt or pitted contacts can create enough resistance to prevent full voltage from reaching the high-voltage transformer. Measure the voltage drop across each contact pair under load. More than a few hundred millivolts indicates worn contacts that need replacement.
Step 9: Isolate the Problem to the Generator or the Press
If your machine uses a remote generator connected to the press via coaxial cable, the fault may lie in the cable or the press matching network rather than the generator itself.
Disconnect the coaxial cable at both ends. Test for continuity on the center conductor and shield. Test for shorts between the center conductor and shield. A damaged cable creates a dead short or an open circuit, both of which prevent power transfer. Inspect the coaxial connectors for loose center pins, corrosion, or arc damage.
Check the impedance matching network at the press. This network, usually a variable capacitor or tapped inductor, matches the 50-ohm generator output to the press electrode impedance. A burnt matching component absorbs all the RF power before it reaches the die. A shorted tuning capacitor reflects all the power back to the generator, which may then shut down on a protection trip. Tune the matching network for minimum reflected power using the machine’s normal tuning procedure.
Diagnostic Flowchart Summary
When you first encounter HF welding machine no output, follow this sequence without skipping steps. First, verify external supplies, E-stop circuits, and foot pedal continuity. Second, listen for contactor closure and transformer hum. Third, with power off and locked out, visually inspect the tube, high-voltage rectifiers, filter capacitors, and tank circuit components. Fourth, check filament voltage and grid bias voltage if you can safely access measurement points. Fifth, inspect the protection board for latched fault indicators and test the current sensing path. Sixth, verify RF presence with a field indicator or frequency counter. Seventh, examine the coaxial cable and press matching network if the generator is remote.
Document every measurement and observation. A vacuum tube HF welder fault that kills output usually leaves multiple clues. The filament that glows dimly, the transformer that smells burnt, the rectifier that reads open, the protection LED that stays lit. These clues add up to a definitive diagnosis.
Knowing When to Stop and Call the Manufacturer
Some no-output conditions exceed the scope of field diagnosis. If you trace the fault to a failed high-voltage transformer, a dead oscillator tube with no spare available, or a burnt tank coil, you need parts and potentially factory-level alignment procedures after replacement. Continuing to probe with improvised tools around a damaged high-voltage section risks personal injury and further equipment damage.
A HF welding machine diagnosis that uncovers multiple simultaneous failures suggests a root cause event, like a severe arc flashover or a power surge, that stressed many components at once. In these cases, a factory-trained service engineer with the correct test equipment and alignment tools restores the machine to full performance more safely and quickly than repeated field attempts.
The goal of these nine diagnostic steps is to identify the failed component or circuit section definitively. With that information, you can order the correct part and schedule the right repair, minimizing the time your machine sits silent. A cold electrode is a problem with a solution. Methodical troubleshooting finds that solution.